Connecting Bitget API
A Fast connection is available for the main account. Subaccounts are connected manually only.
Before starting, make sure that your exchange account is fully verified and has access to Futures trading.
Fast connection to Bitget
Section titled “Fast connection to Bitget”To use Fast connection to Bitget, follow these steps:
-
Go to the website https://www.bitget.com and log in to your account.
-
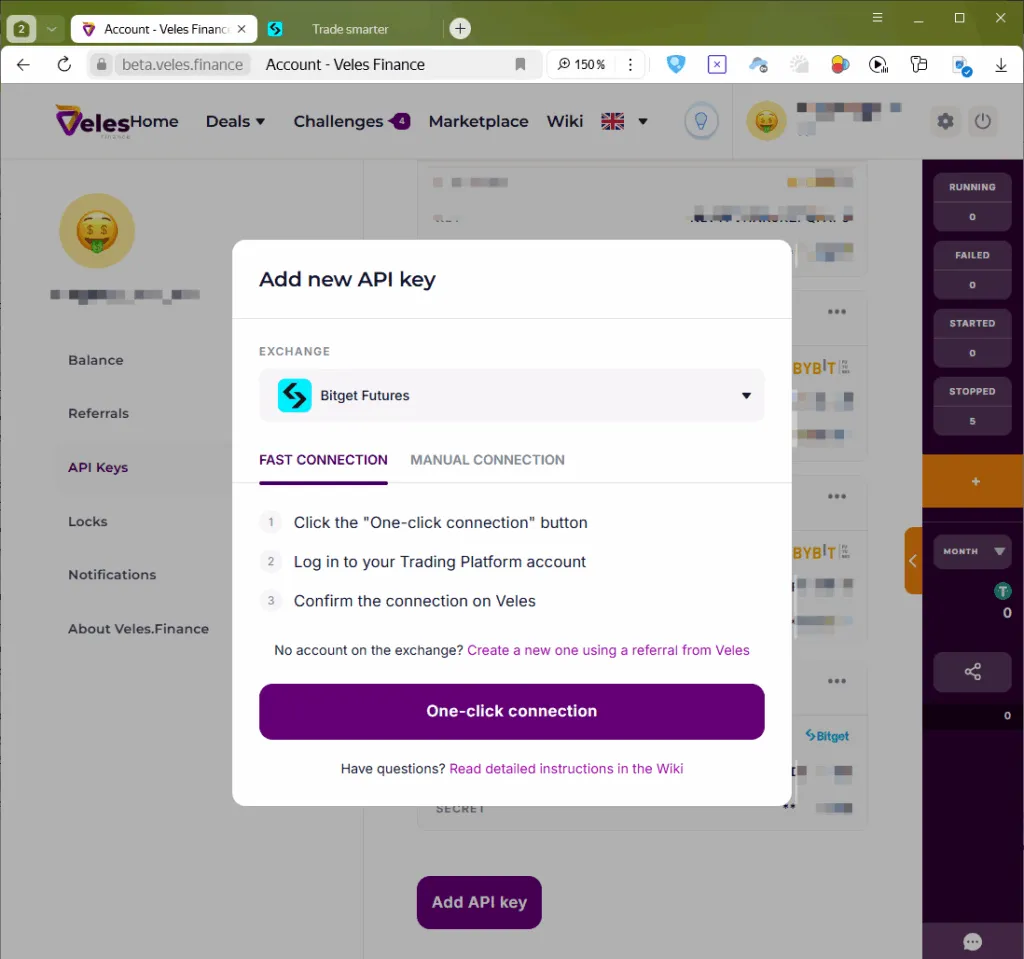
In the Veles cabinet, open the API Key management page and click “Add API Key”.
-
In the “Exchange” field, select “Bitget Futures” and select “One-click connection”.
-
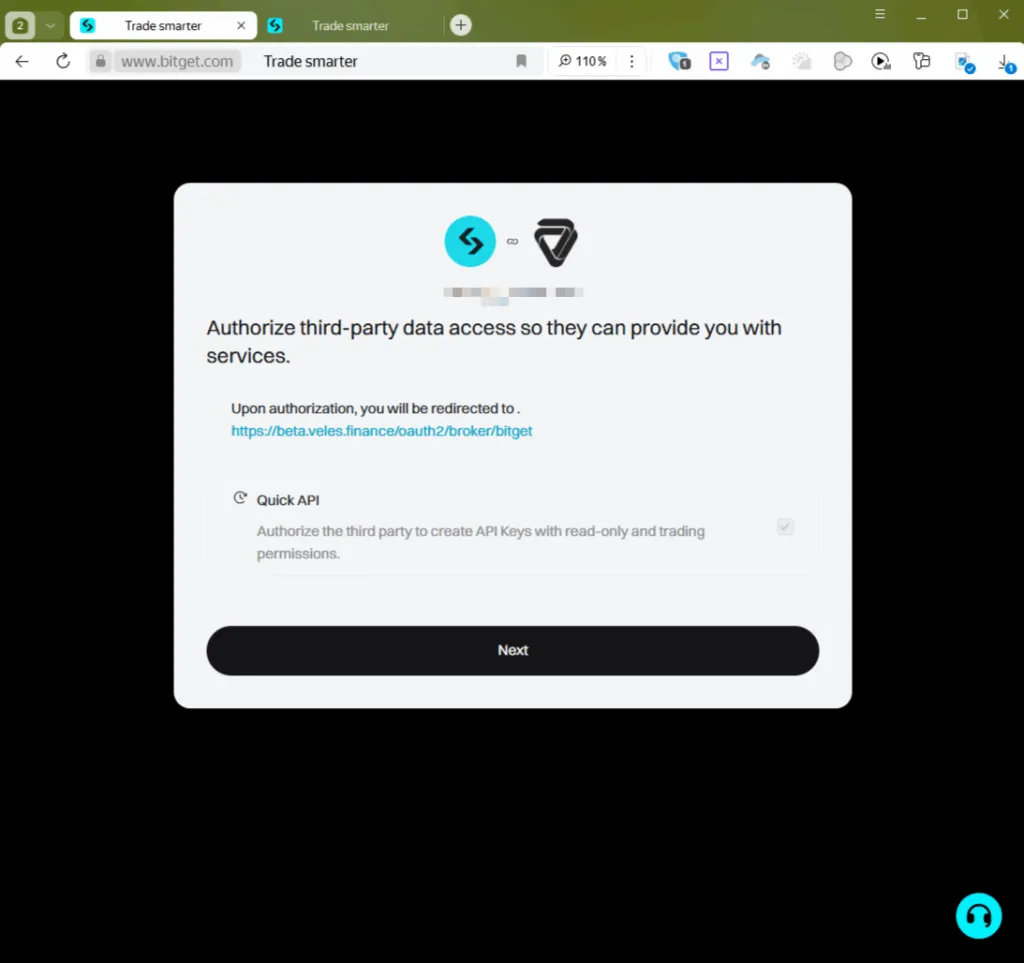
Read the warning from the exchange and click “Next”.
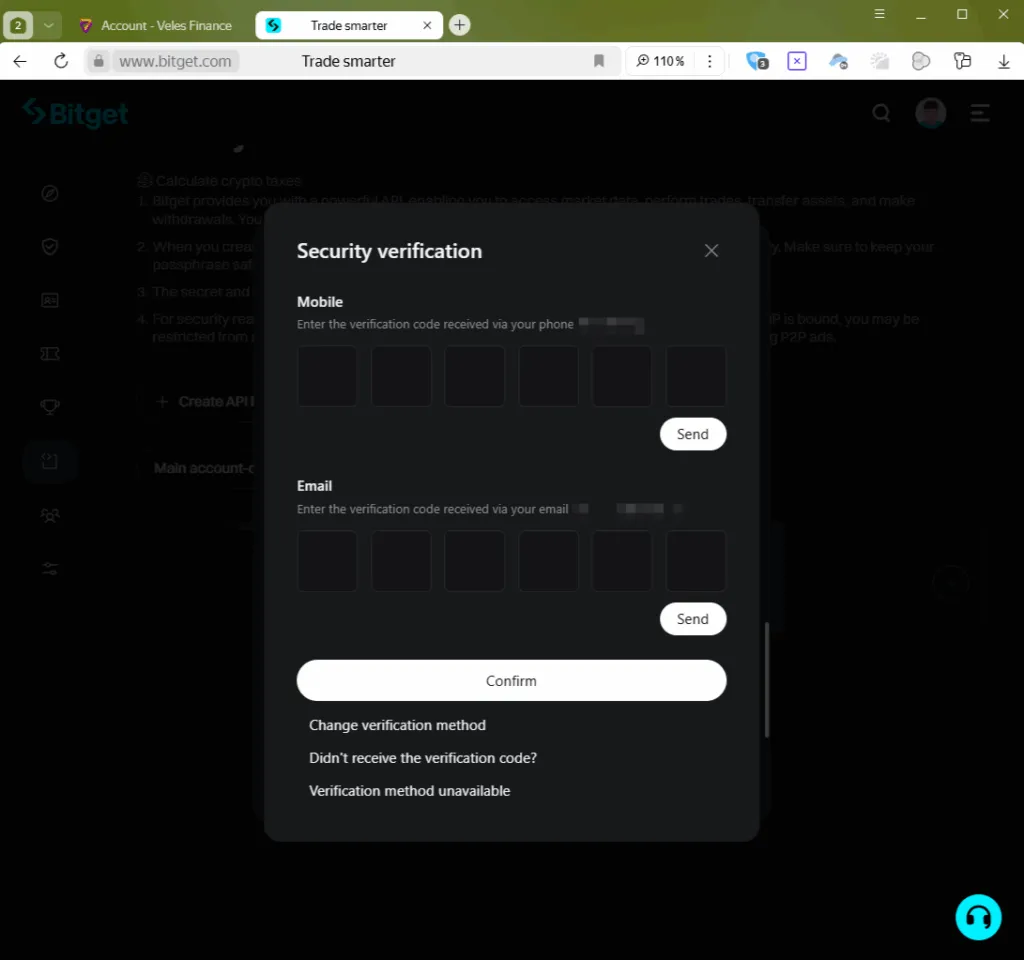
-
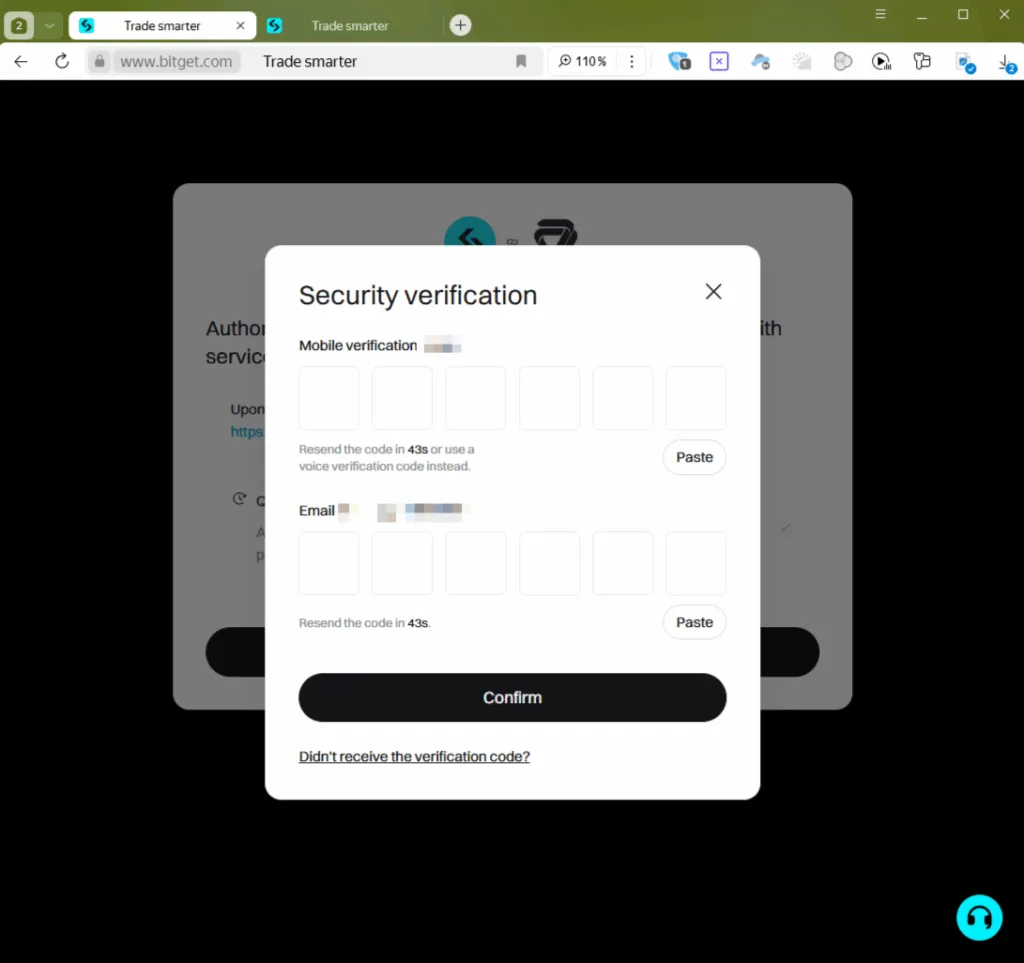
Enter the verification codes received via SMS and email, then confirm the action.
-
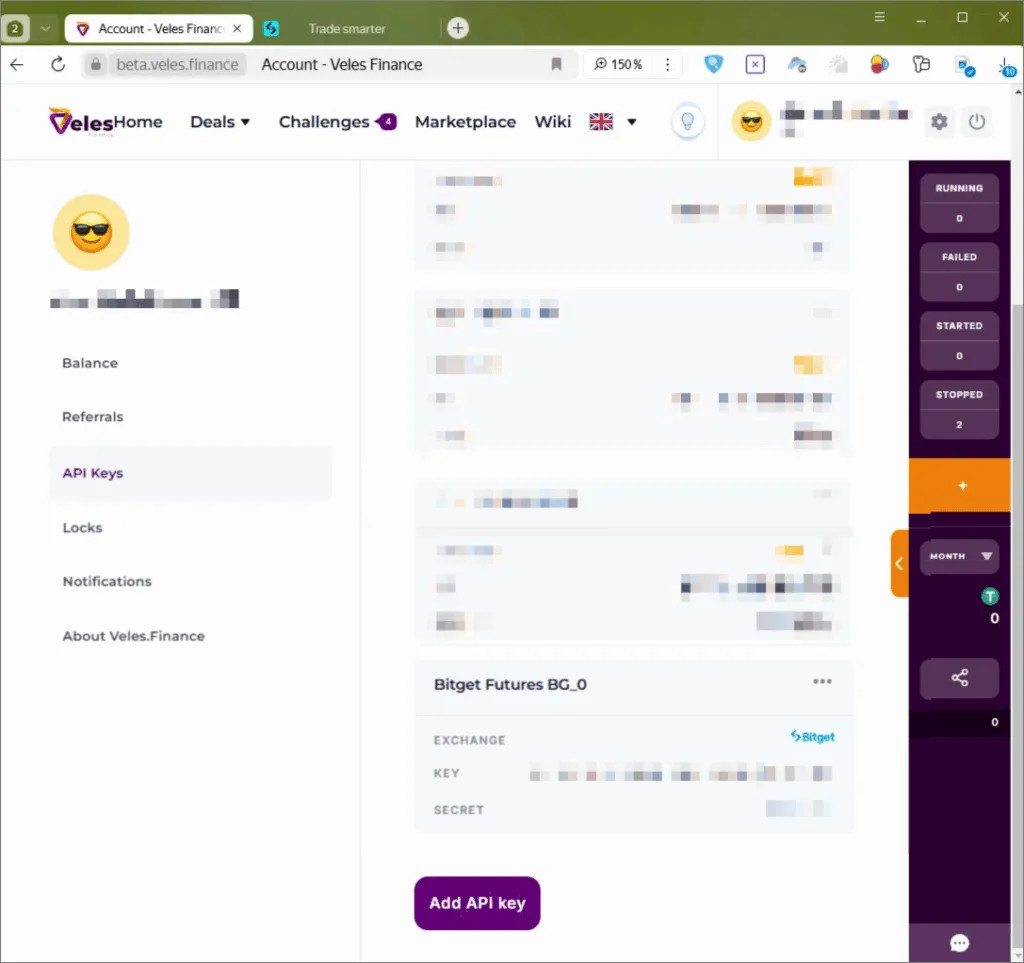
After successful activation, the Bitget Futures BG_0 link will appear in the Veles profile.
-
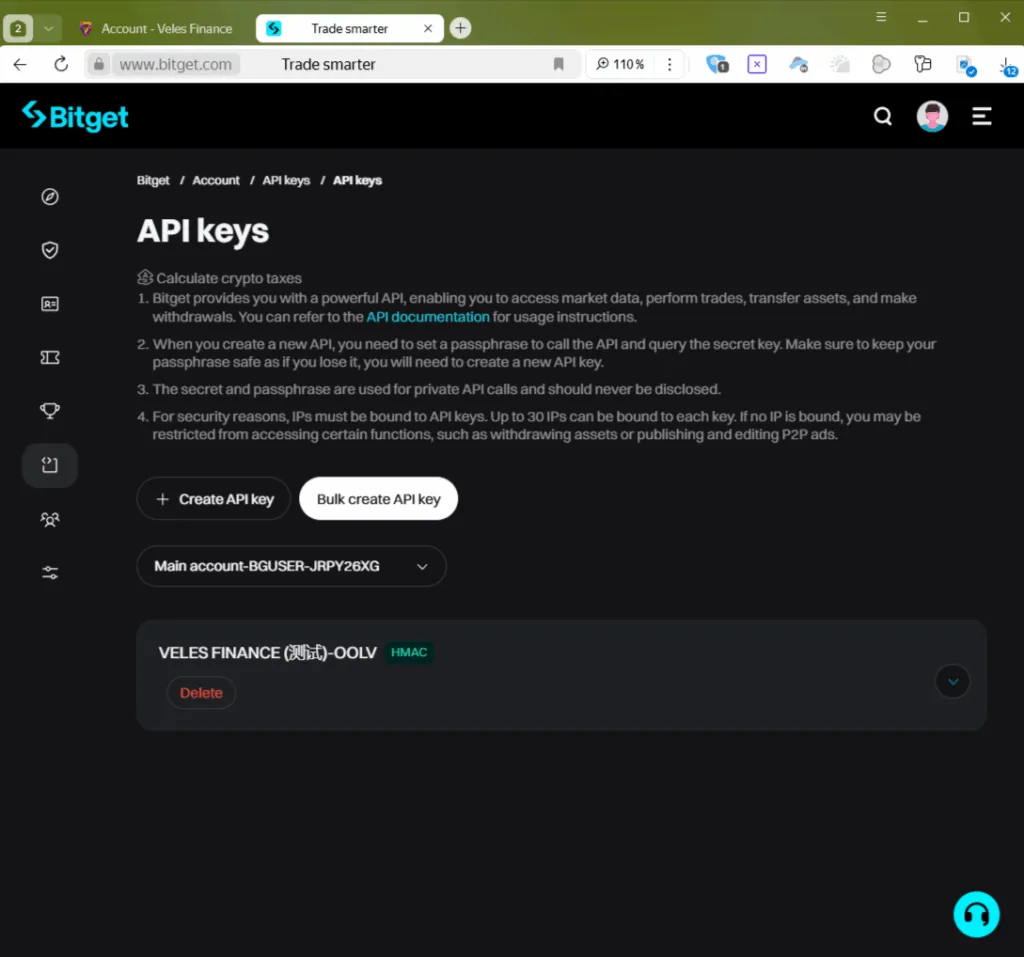
In Bitget’s personal account, the created key will be displayed in the “API Keys” section.
-
It’s done! Now you can select this Binding in the bot configurator and trade on Bitget.
If the Fast connection does not work, use the manual method.
Manually creating an API key on Bitget and binding it to Veles
Section titled “Manually creating an API key on Bitget and binding it to Veles”-
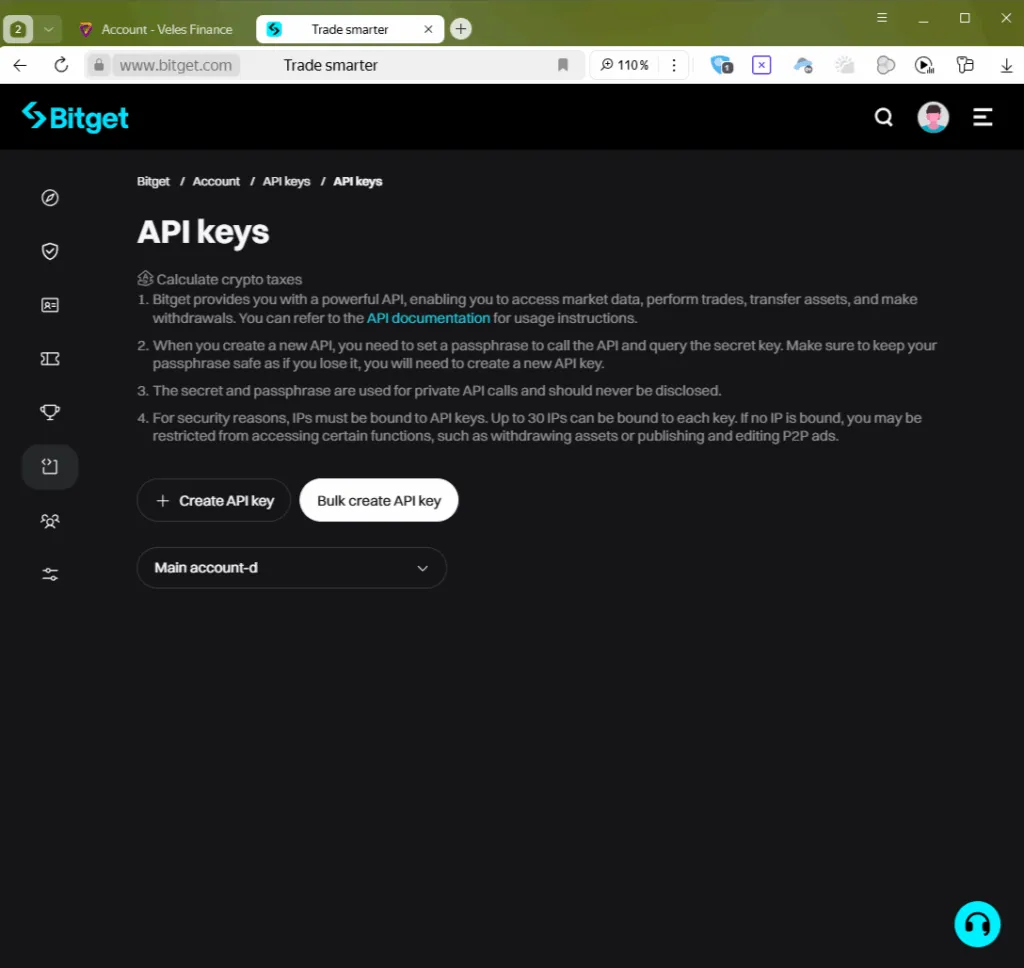
Log in to bitget.com and go to profile → “API Keys”.
Click ”+ Create an API key”.
-
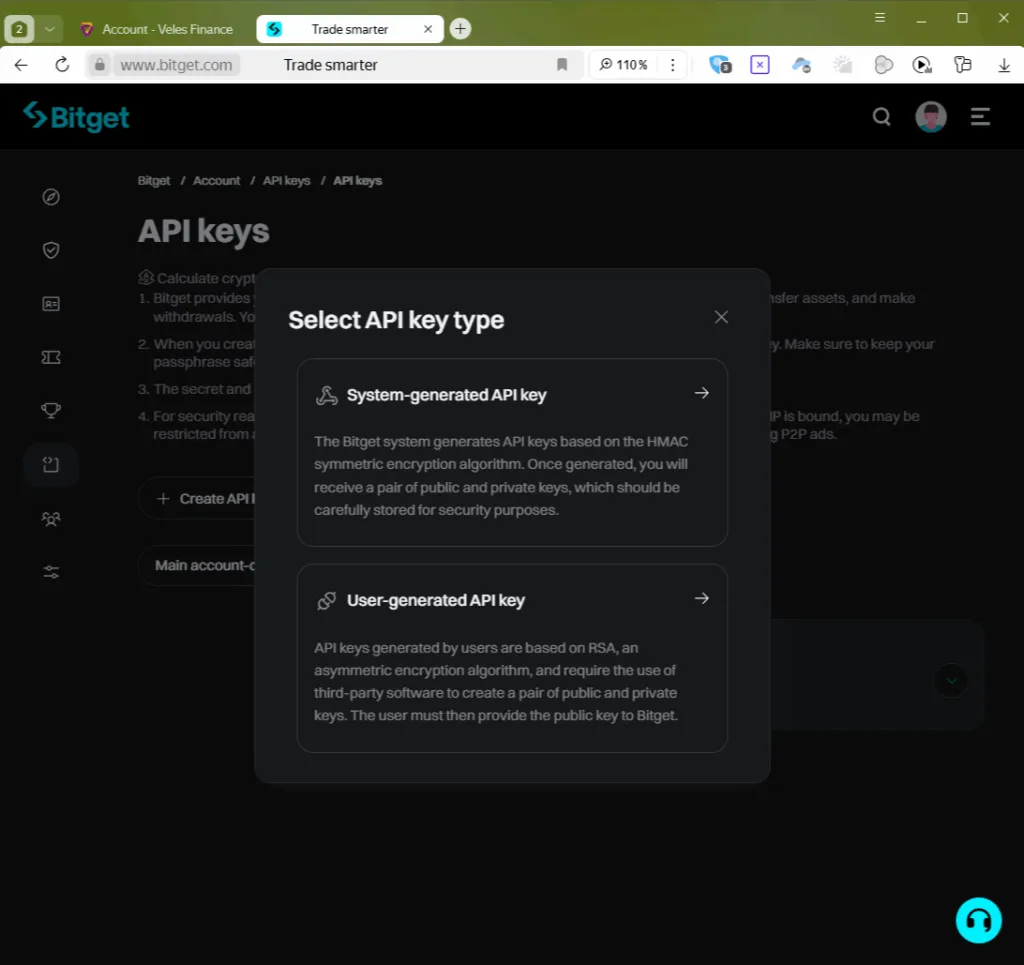
Select the type “System-generated API key”.
-
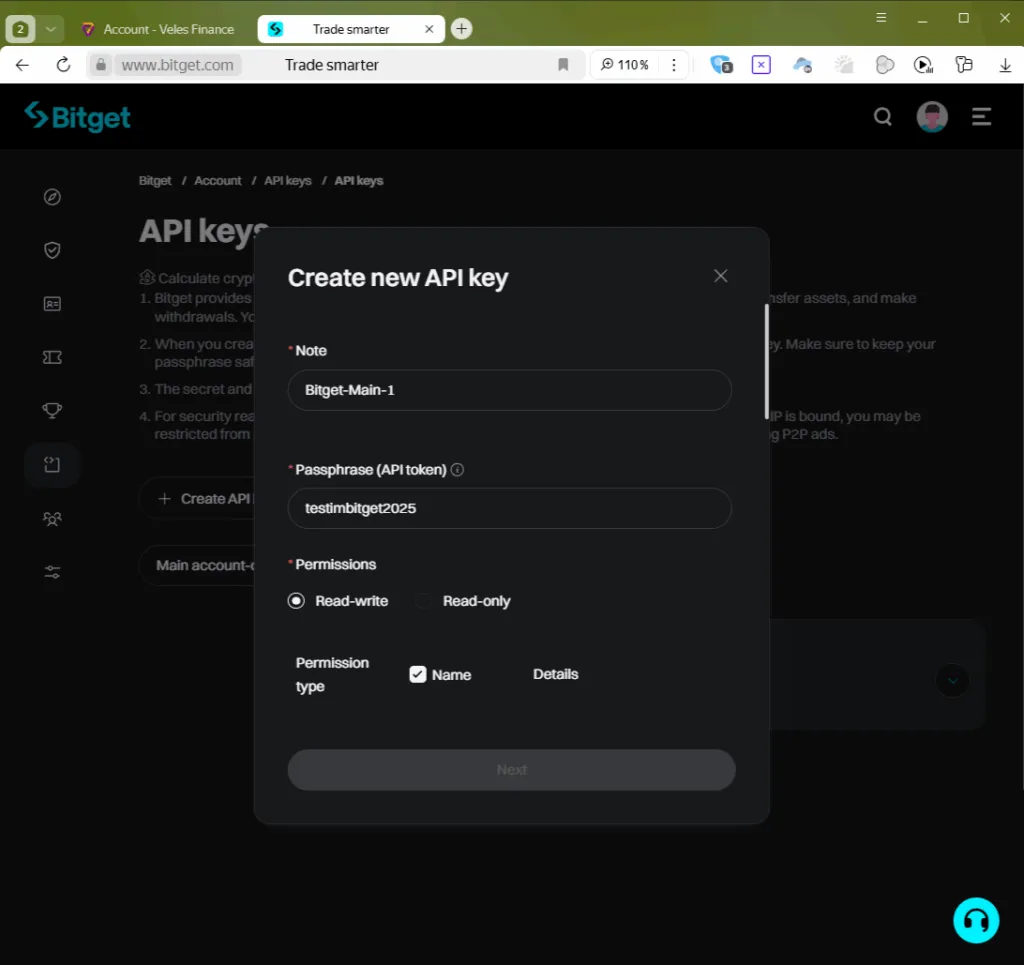
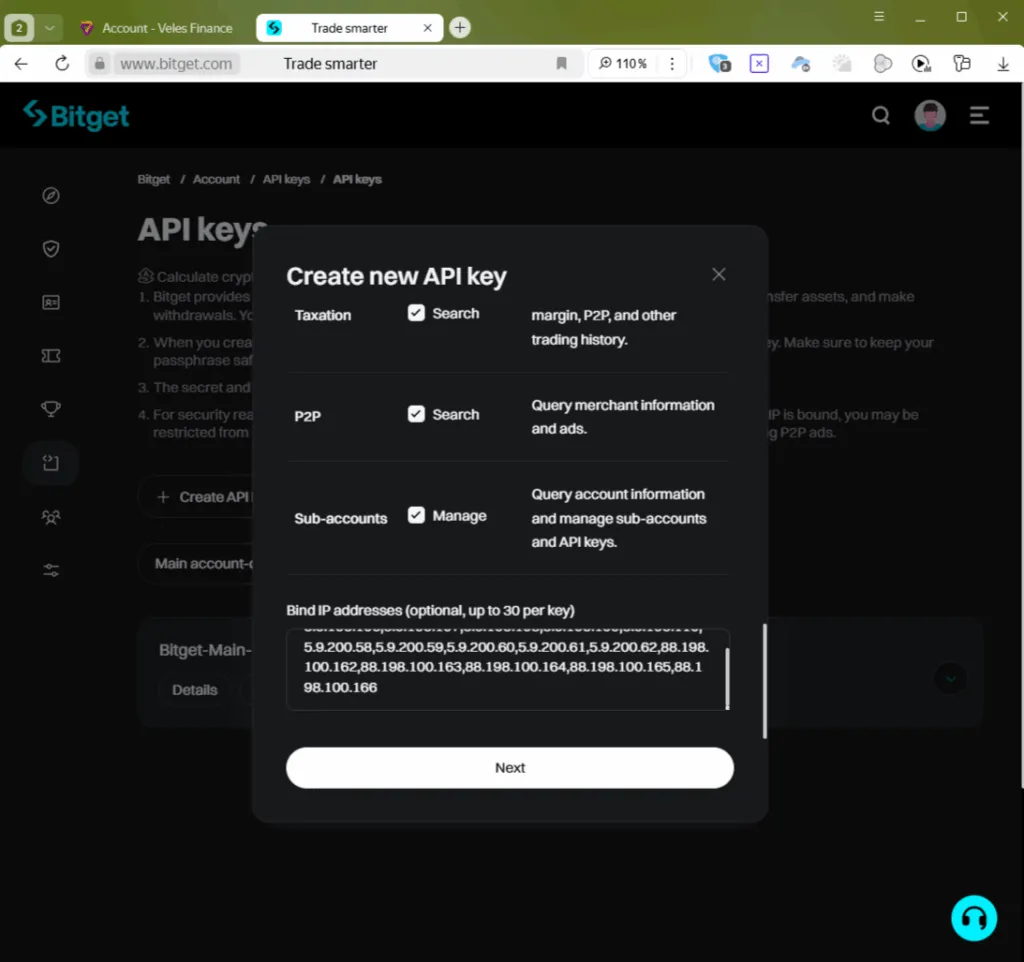
Fill in the key parameters and save them in a safe place:
- Note is a label for the key.
- Passphrase is the password (letters and numbers only).
- Mark “Read and write”.
- Select “Name” to enable all permissions.
-
At the bottom of the window, add the IP addresses, listed in our instructions, and click “Next”.
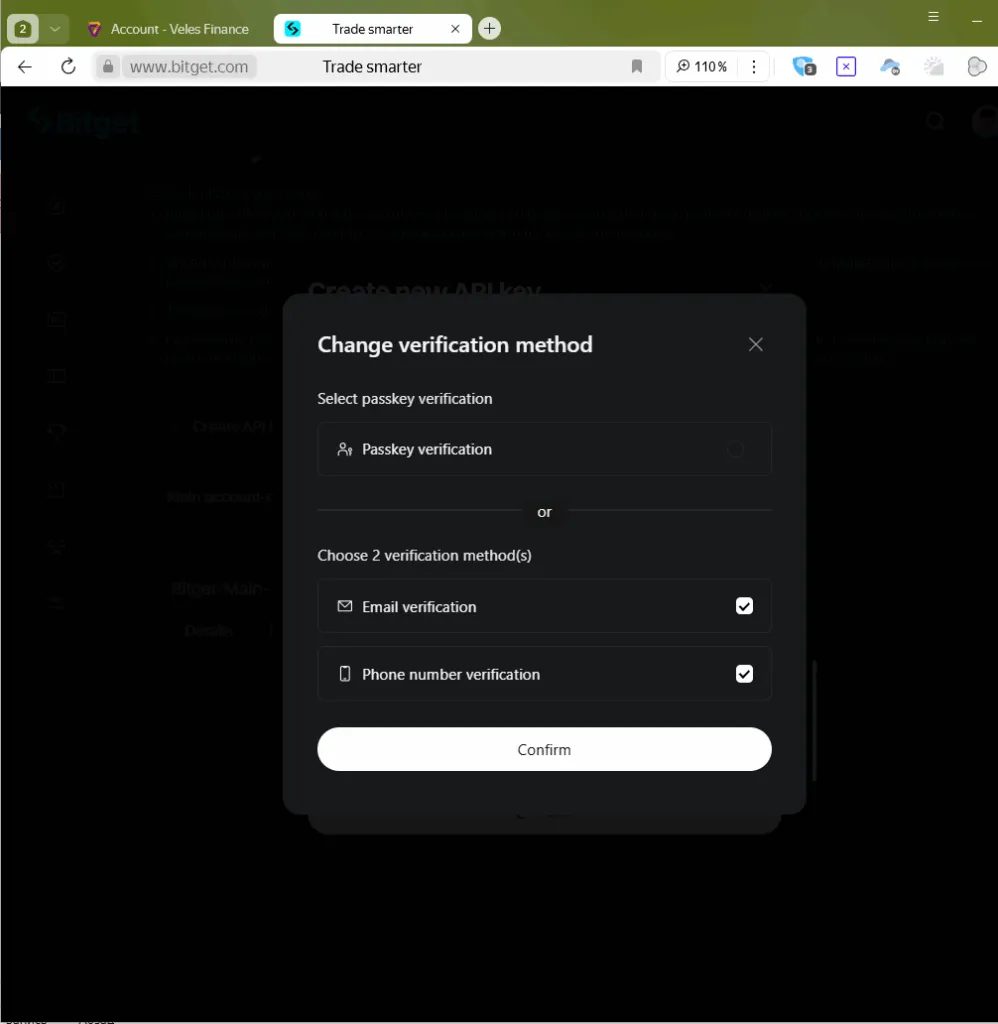
-
Go through a security check: enter the codes or confirm via Passkey.
-
The exchange will show a window with the API key data. Copy them and don’t close the window until the Binding is created.
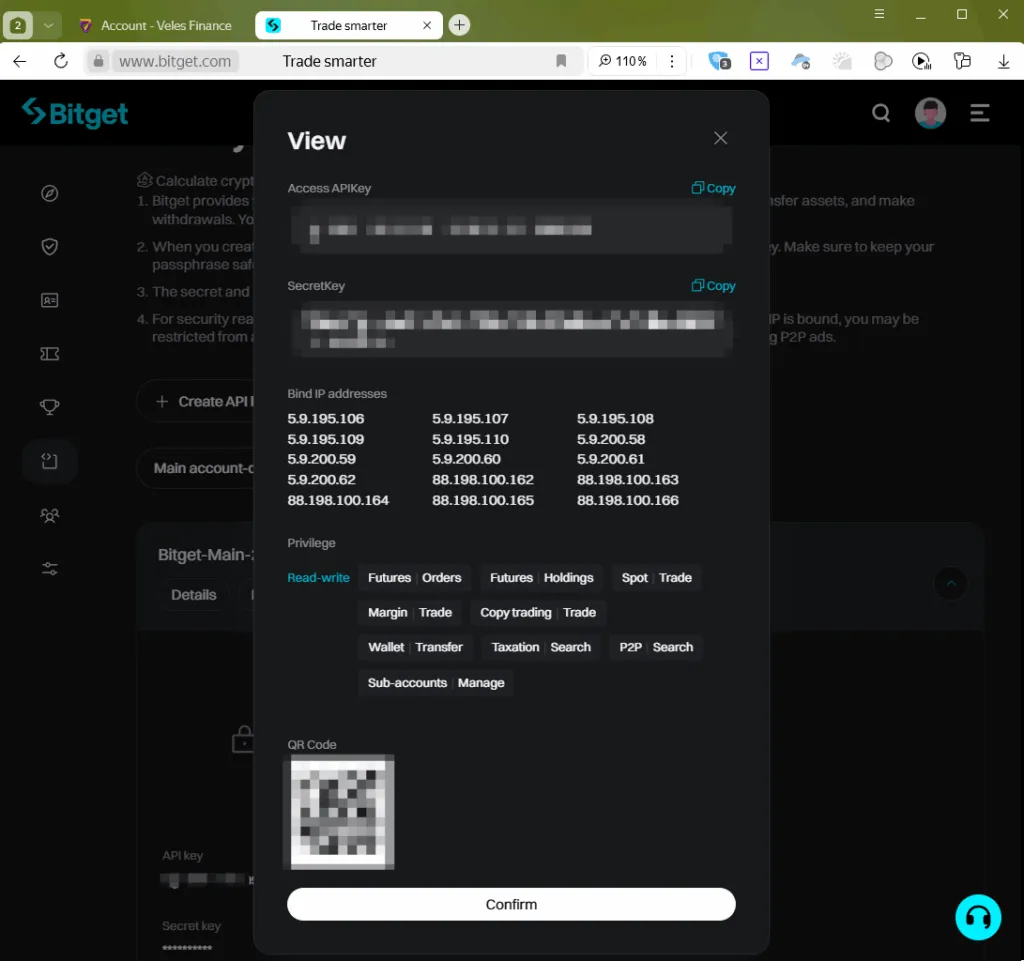
-
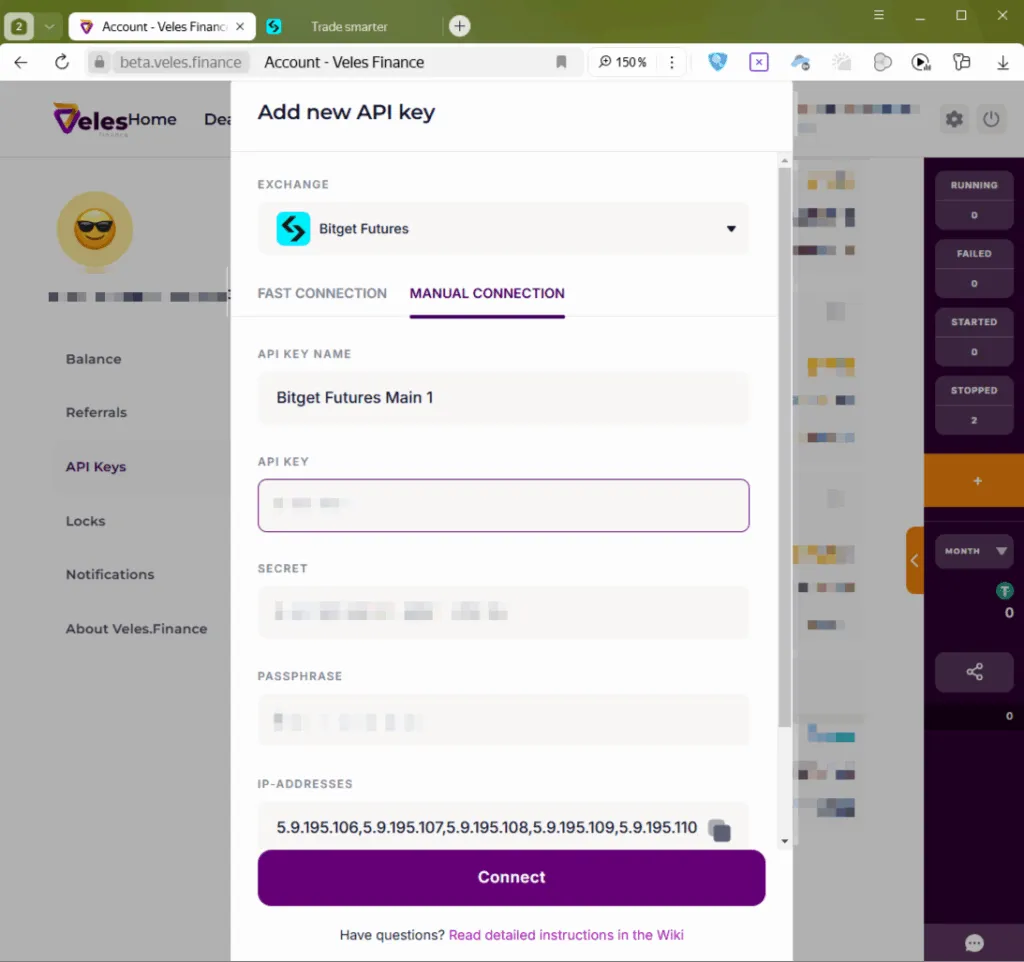
In the Veles account, open the section “API Keys” and click “Add API Key”.
-
Select “Bitget Futures”, tab “Manual connection” and fill in the data:
- API key name — for example Bitget Futures Main 1
- API key — value from the “API Key Access” field
- Secret — a string from the “Secret Key”
- The secret phrase is the passphrase used when you created the key.
- IP addresses — leave unchanged.
Click “Connect”.
-
The new Binding will appear in the list, and you can use it to trade on Bitget.
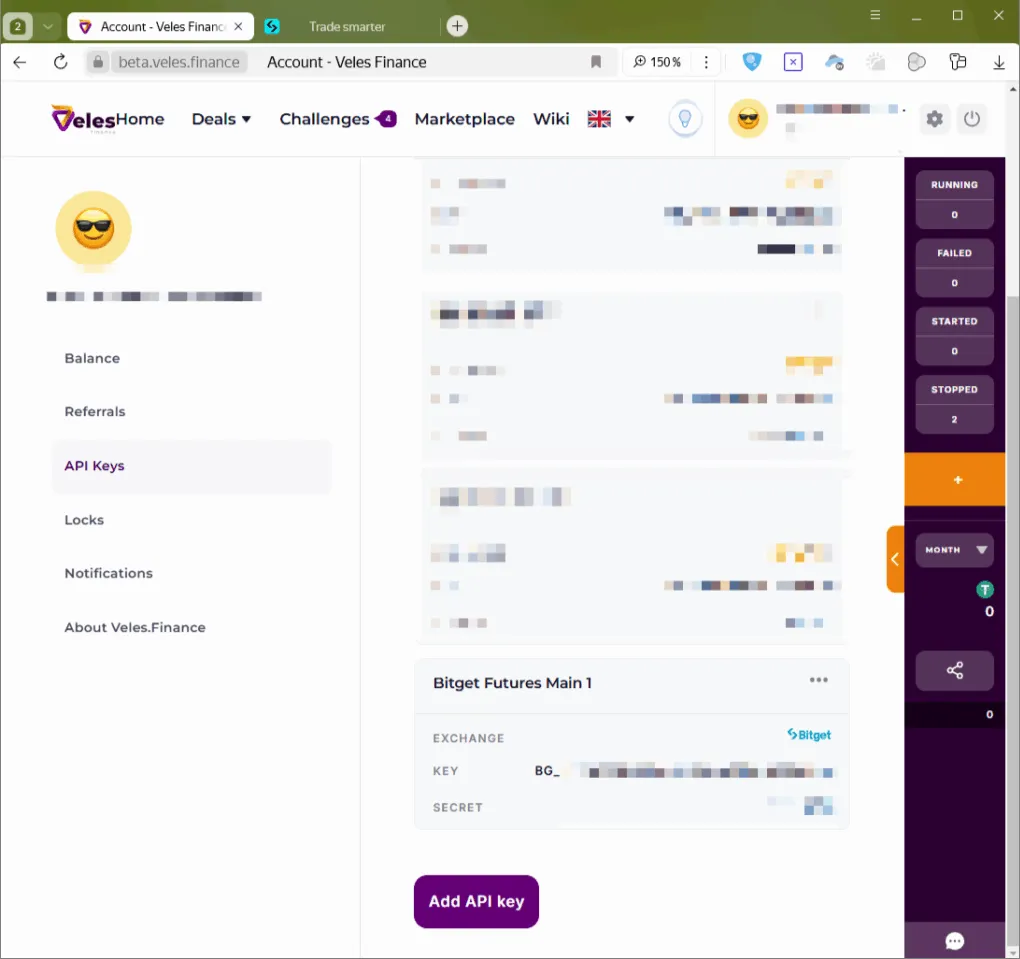
Your Bitget account is now successfully connected to Veles.